Upstart
  • Home
  • Art 1

Final Exam part 1

6/5/2017

0 Comments

 
Picture

QueStions

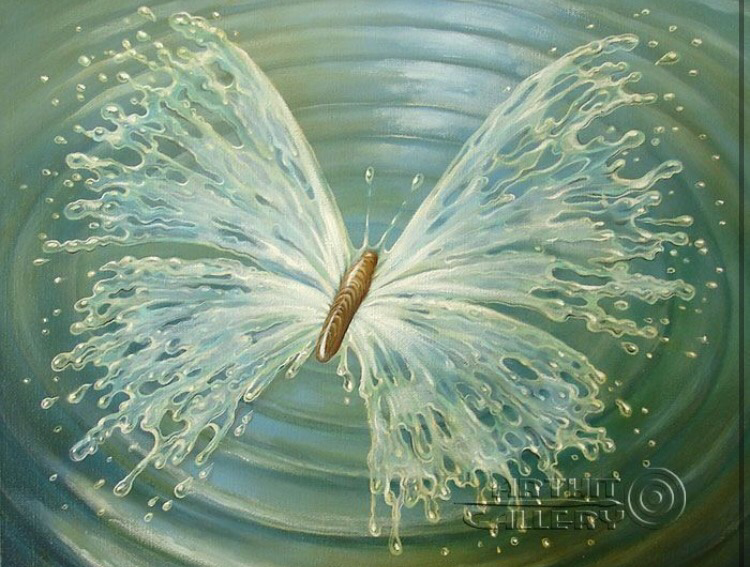
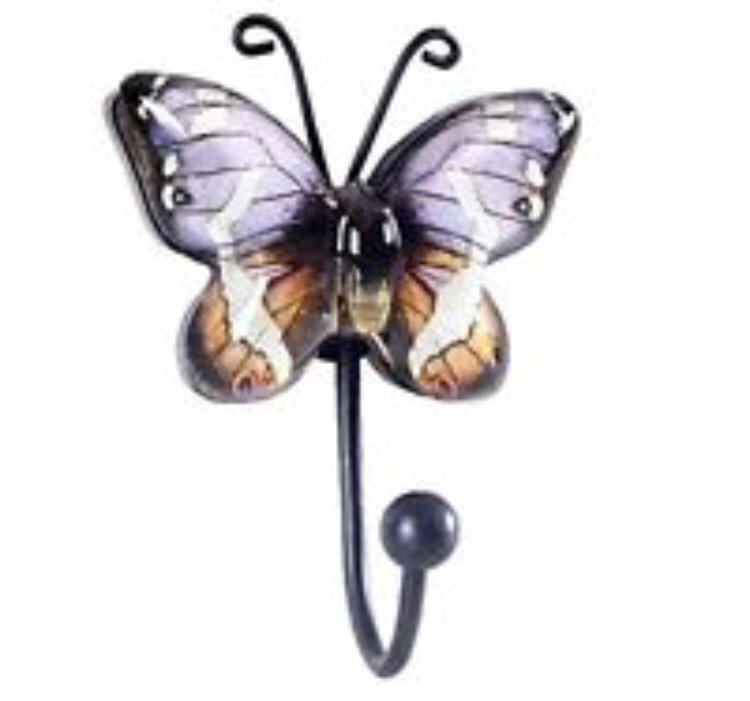
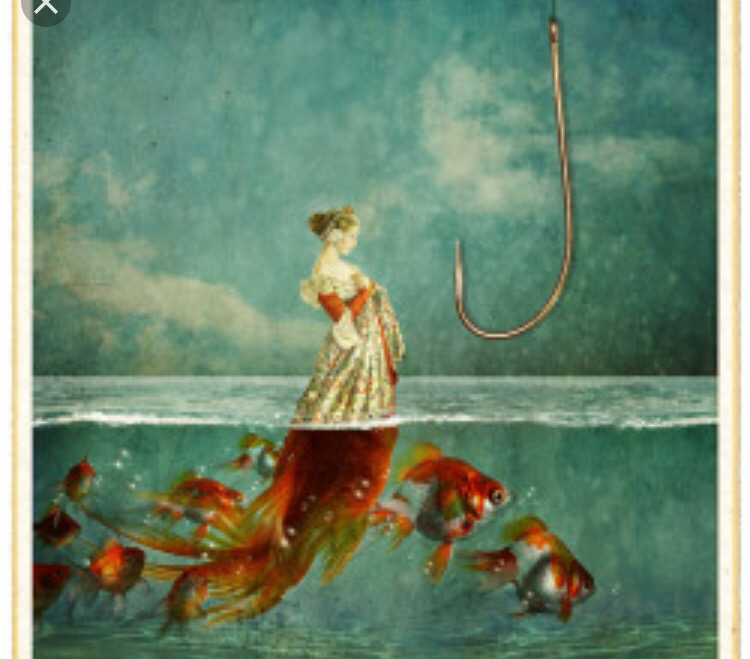
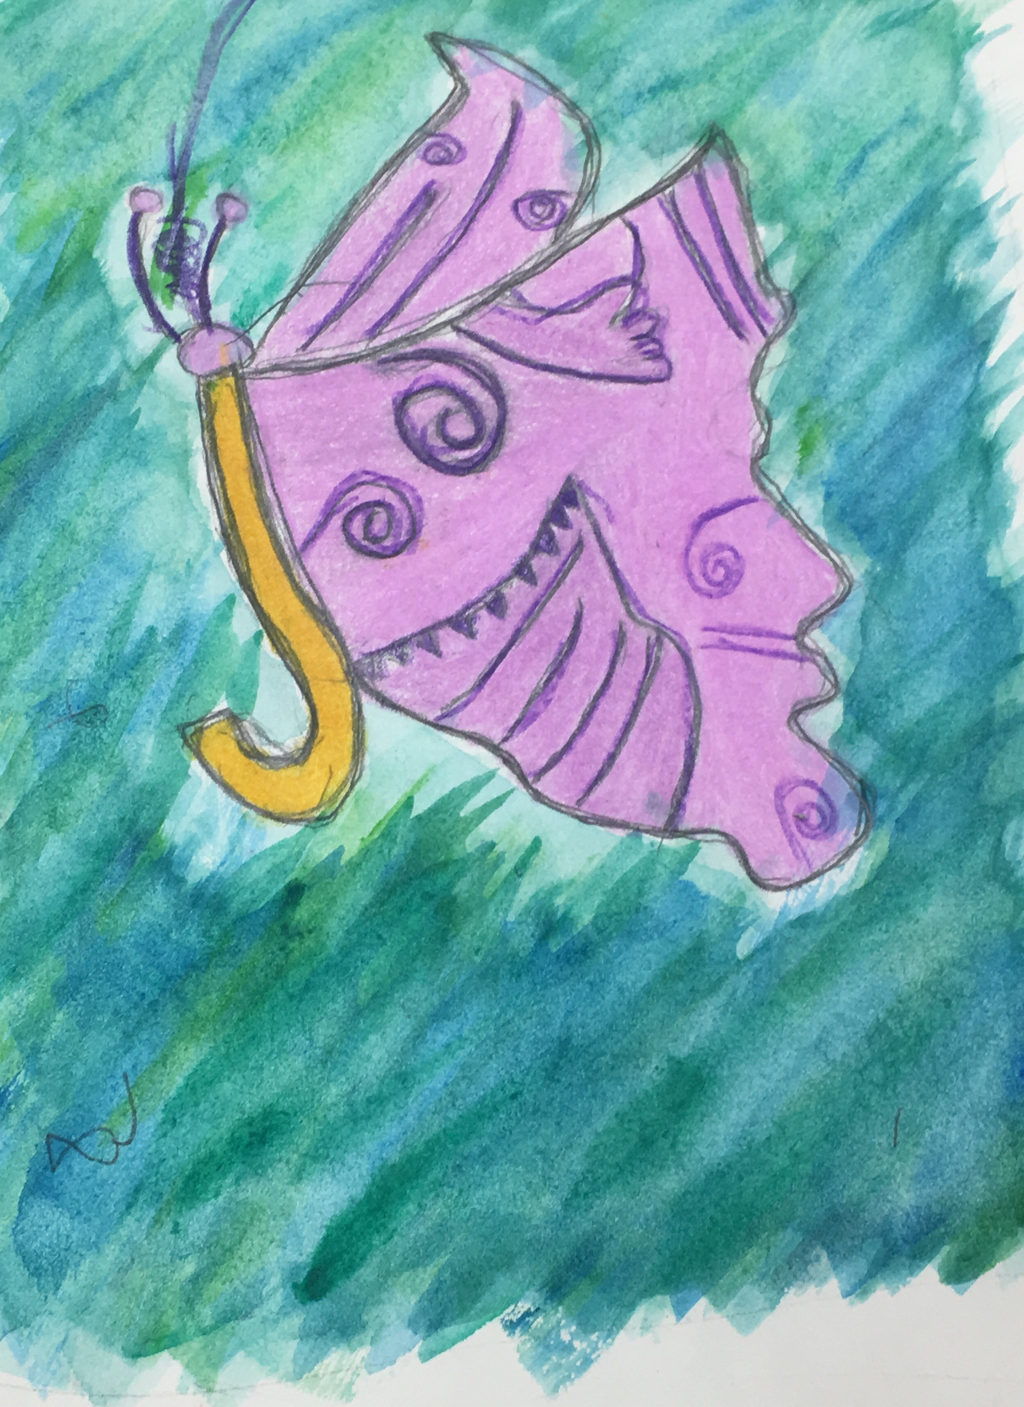
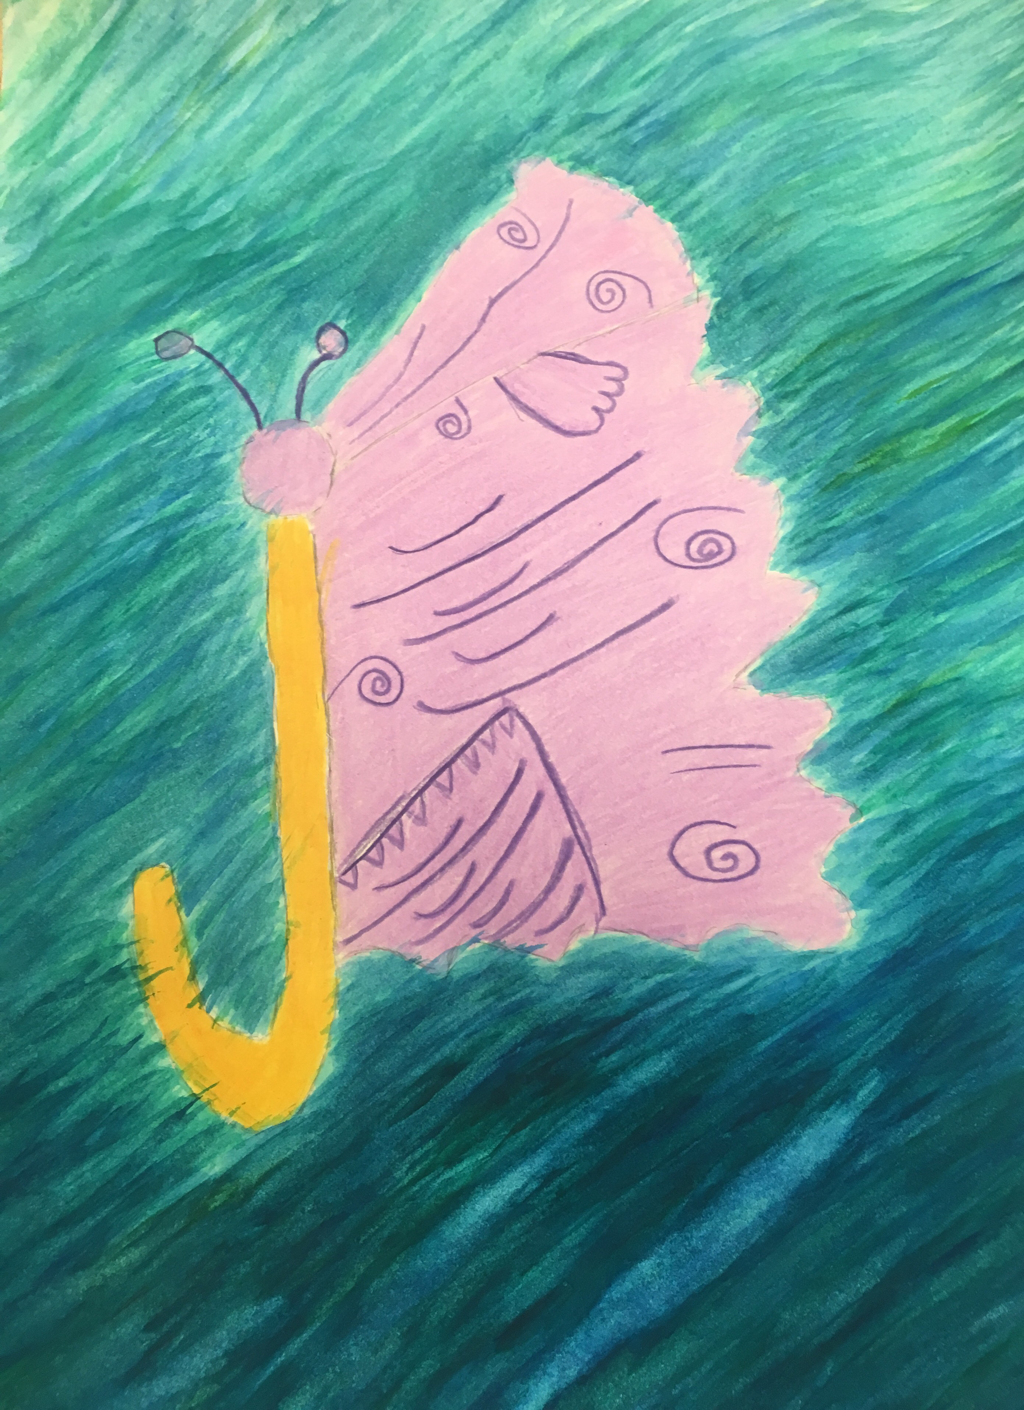
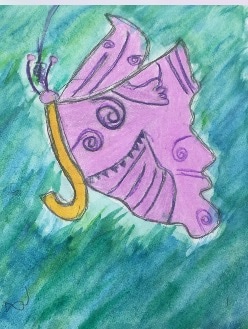
1, This is my favorite older piece I did because I like how the water came out because it shows the different values of the water depending what angle you see it. I like the amount of detail I put into the butterfly and the wings do look realistic and how for the body I choose to do a fishing hook it did fit together. The butterfly in my in process one has better detail in the butterfly but the finished product has such better detail on the amount of change of color blue, green throughout the whole piece. I put many highlight points and tried to change the value of each color. The thing I learned is that water color drys pretty fast so you have to paint quickly and you mix each color to make other shades of blue & green throughout the whole piece. I didn't think the color pencil medium and water color would go together but I liked how my final piece came out. I think I should have put fishes around because it's a fish hook body and it isn't very clear on what it is.

part 2
Picture

Question 1

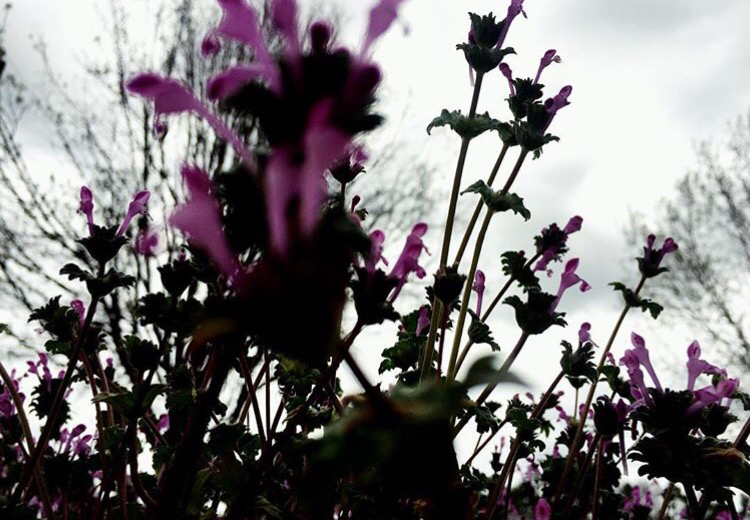
1. The medium I really liked to use this year was the water color paint. I really liked using it because when it dries it looks different from with you first paint it. It has such beautiful different techniques you used with water color. You do the one where you paint the background and you use salt on a wrap of paper. Use the one where you paint the background and just keep moving your paper around then it gives it a like goo form. The one I didn't like working was with the oil pastel. I just didn't like how you tried to do a certain piece you had to tried not to get you arms dirty bcecsue it's pretty messy. I just didn't like how the texture came our after you finished the piece you were working on. You could get the power everywhere and get the piece messed up if you touch it.
Picture

question 2

1. One of the tools that I have never used is was the slab roller and not any of the clay tools. I learned that the slab roller was used to make the the clay a flatter piece and more useful for you what you are making. The clay tools that were in the bucket was used to help you create more detail to your piece and to cut off the extra clay you don't need. The sponge to blend the clay all together with your piece and try to fix the broken pieces. All theses tools were a great resource because it helped the piece look better and have you create the piece you wanted. I was amazed how the slab roller can flat out the clay it's pretty thick sometimes.

Question 3
Picture

0 Comments

CLay Tray Set

6/5/2017

0 Comments

 
Picture
Picture
Picture

questions

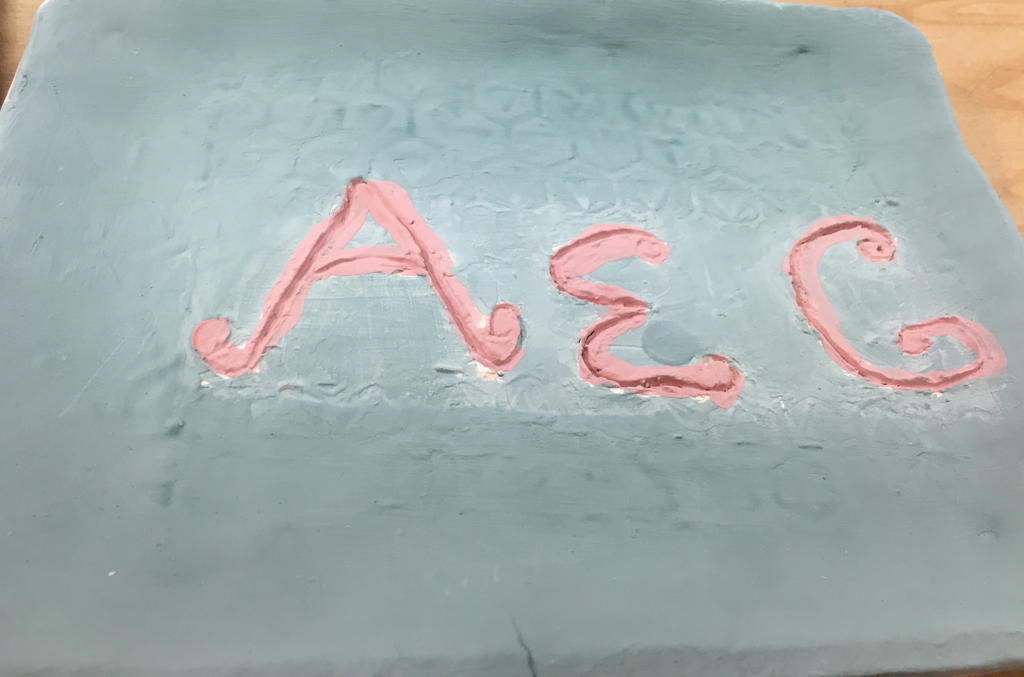
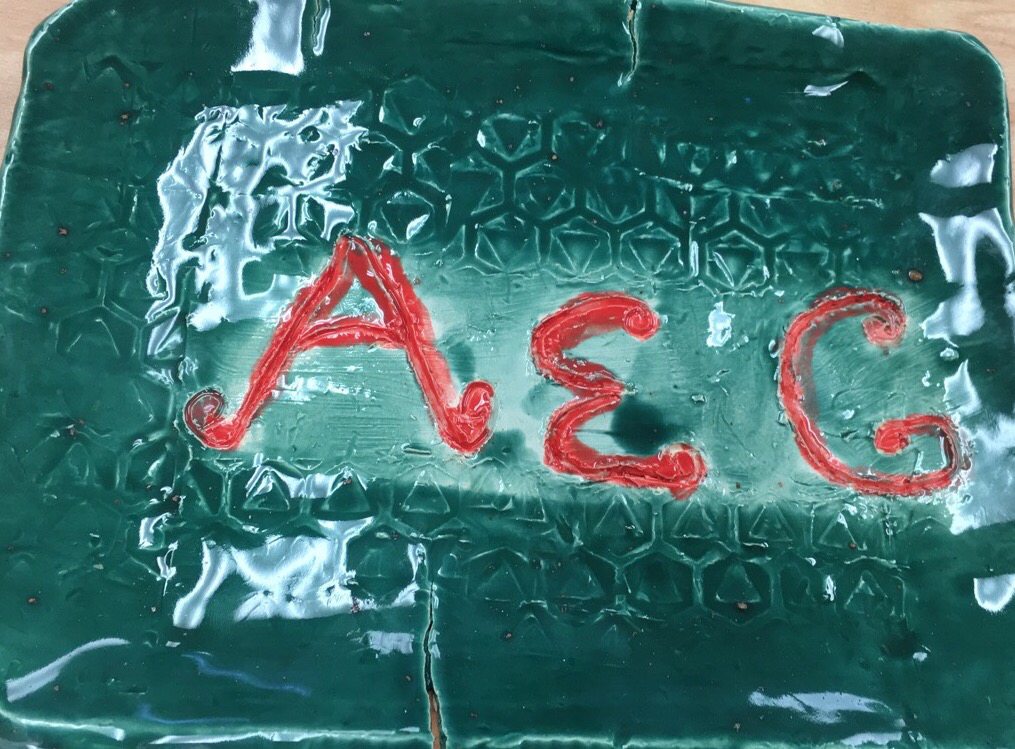
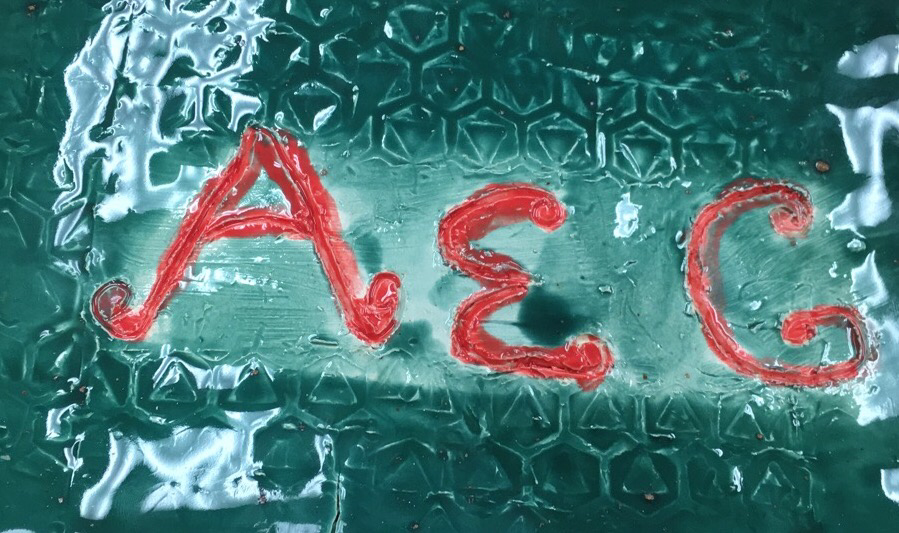
  1. My tray is used for putting food on top or you can put jewelry on it.
  2. Well to come up with this idea I was looking through Pinterest and saw a cup with someone initials. I thought it was cute so I doesn't to do a tray with my initials.
  3. I first got the clay and started to flat it out. Then put the clay in a slab roller to make it fit in the tray. I first put oil spray so it wouldn't stick and then put the clay on the former of the clay. After let it sit for about a day then I started to do my initials of the clay tray. Then founded a thing to make texture of like diamond shape/ square around to my initials. After I put to put in the kneel and then it cracked. Lastly put the glaze on my piece.
0 Comments

Perspective

5/24/2017

0 Comments

 
Picture
Picture

Questions
​

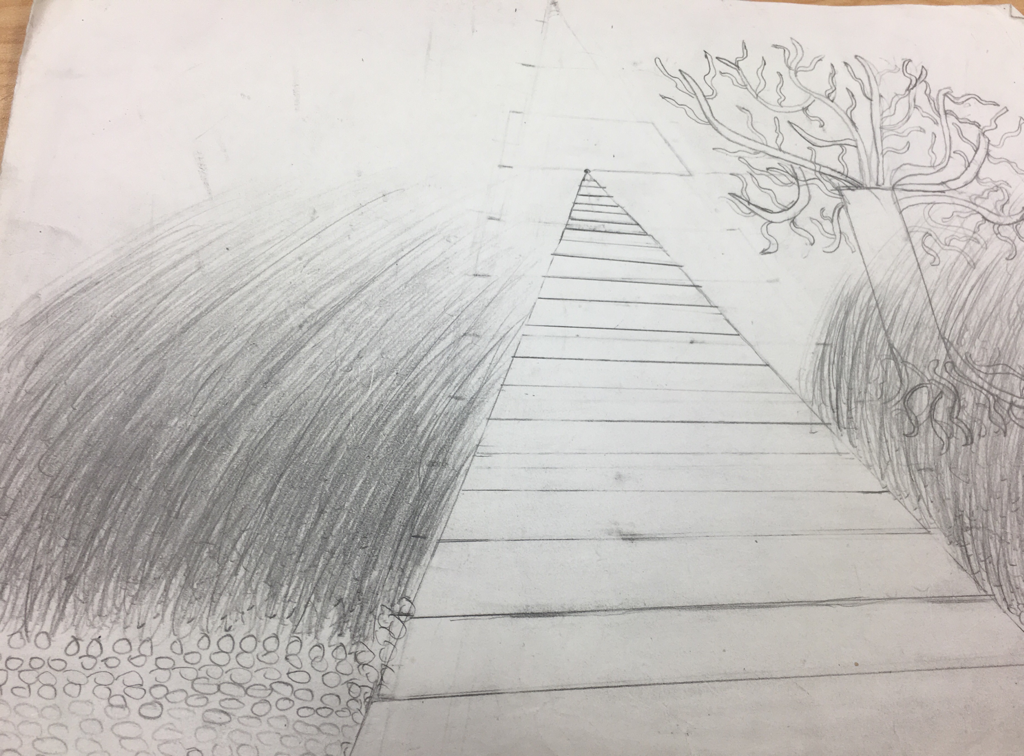
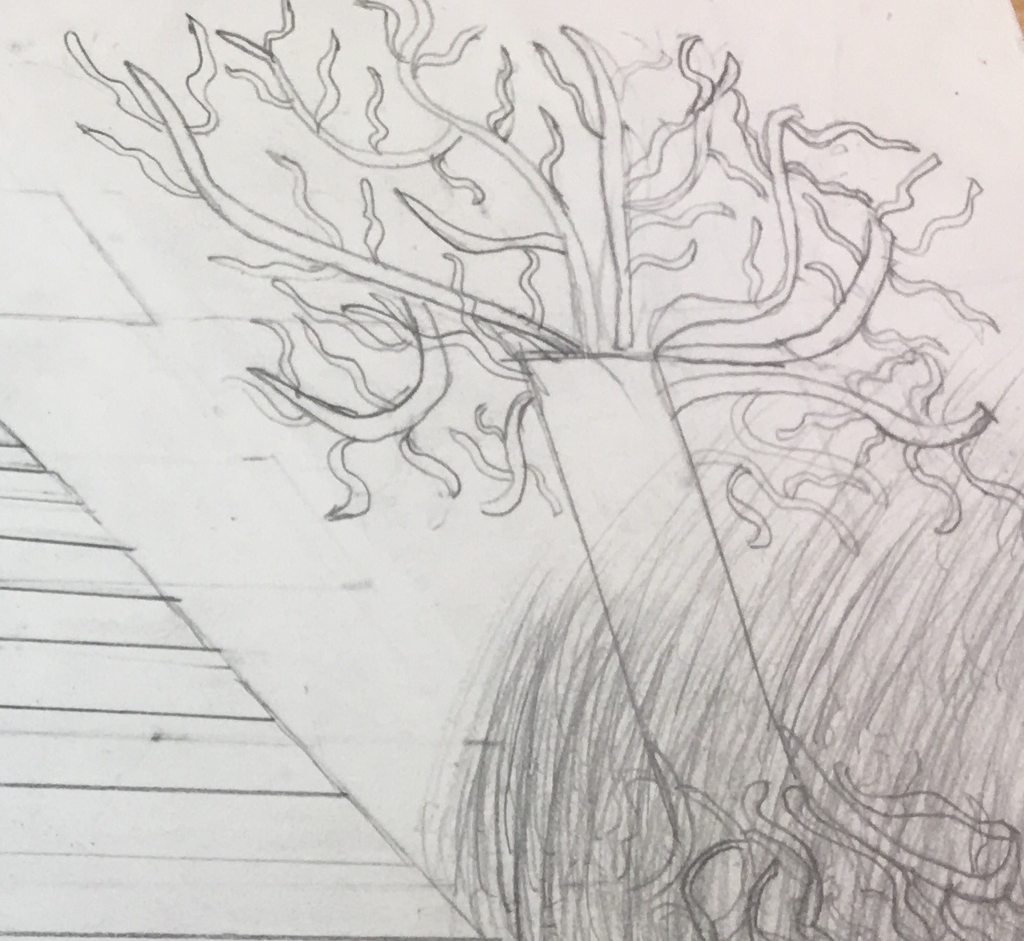
1. For my drawing I choose to use 1 point perspective and it went to the point of the railroad tracks.
2. The medium I picked was the pencil and I choosed it because I l could put more detail to tree.
3. This picture I combine two different from pictures and change the format of it.
4. The thing was most difficult for was making the grass because I couldn't get a it the same exact size & the shadow.
0 Comments

VAe POstcards

5/8/2017

0 Comments

 
Picture

questions
​

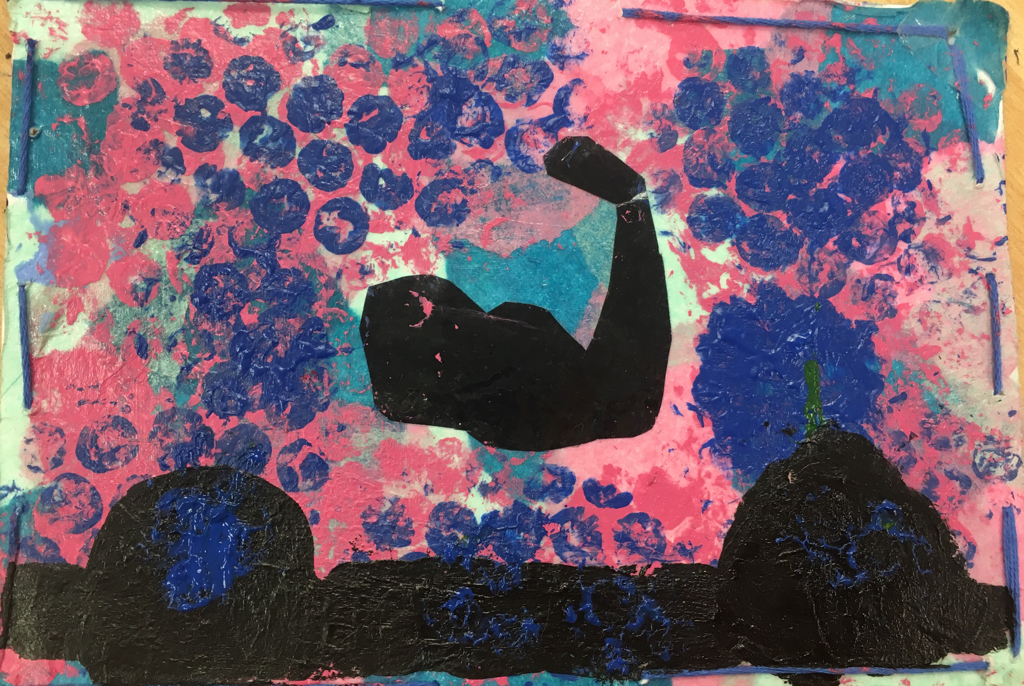
1. I did 5 different techniques I did the tissue paper, then bubble wrap with arylic paint, then I printed out the arm & out it on tape, then put it in water to take out the printed part. Last I did the weight lift.
2.The word was strength for my postcard and I choose to the arm because it shows how we can strength in different from like being strong as a person or as working out in the gym. Also the colors blue & pink are pretty light.
0 Comments

linocut Printing

5/1/2017

0 Comments

 
Picture
Picture
Picture

questions

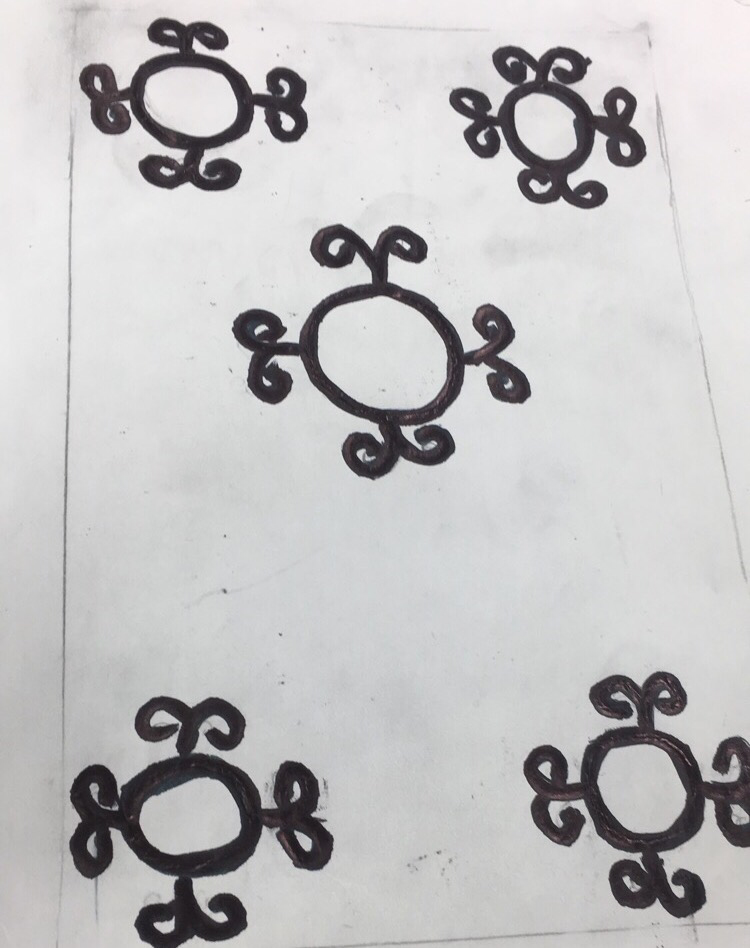
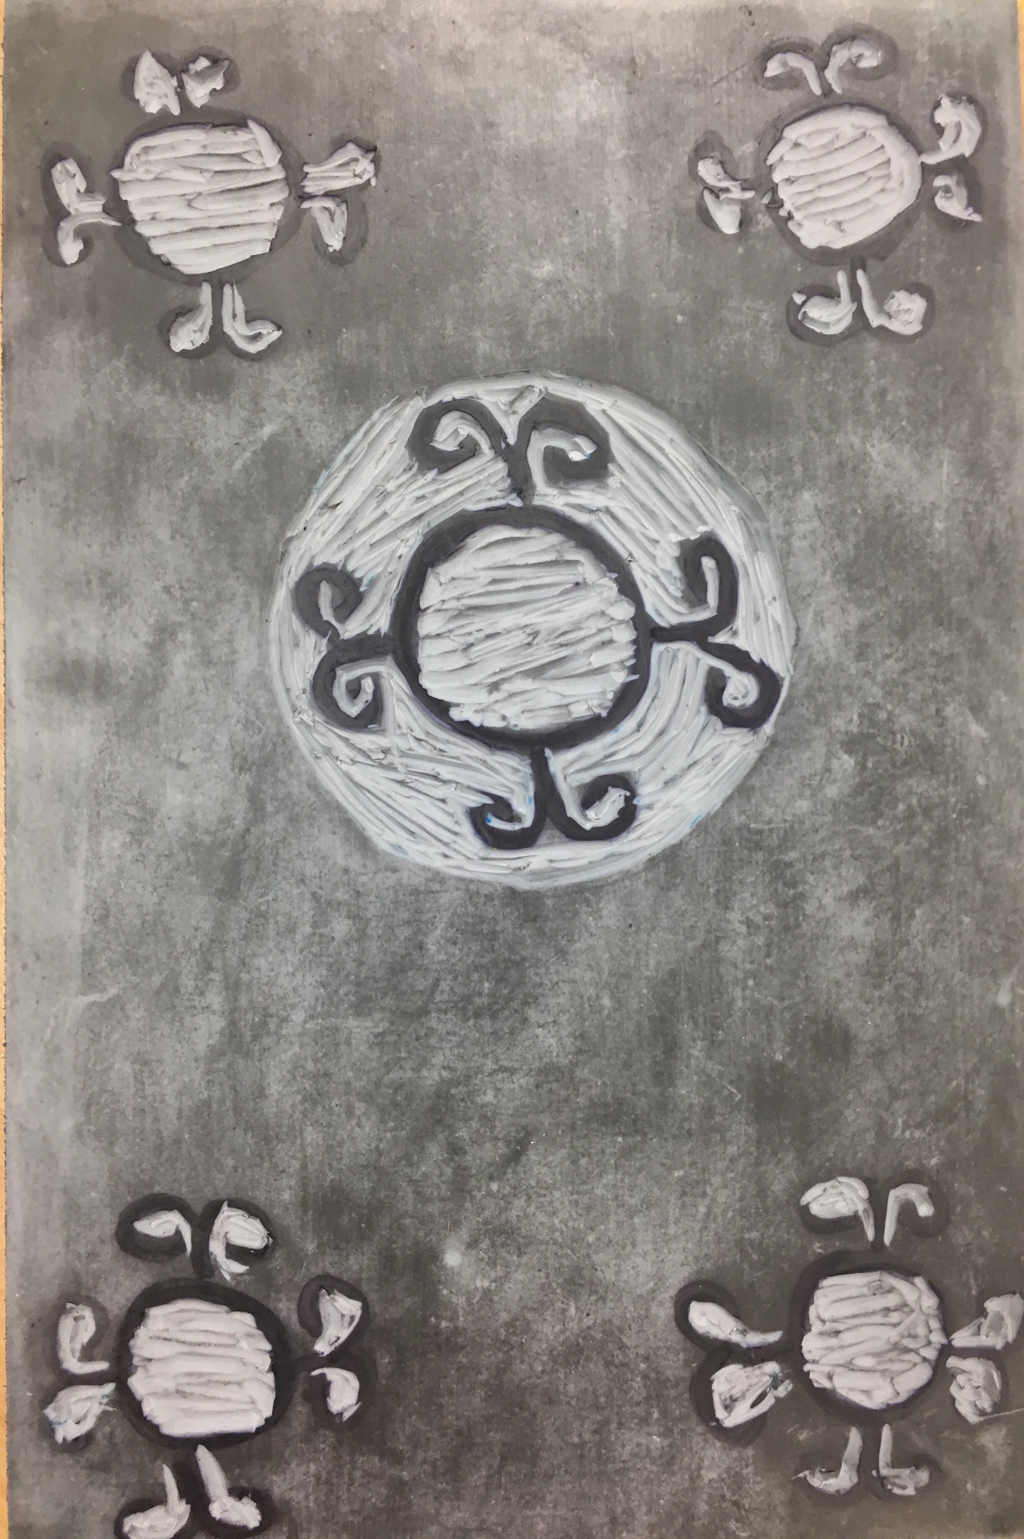
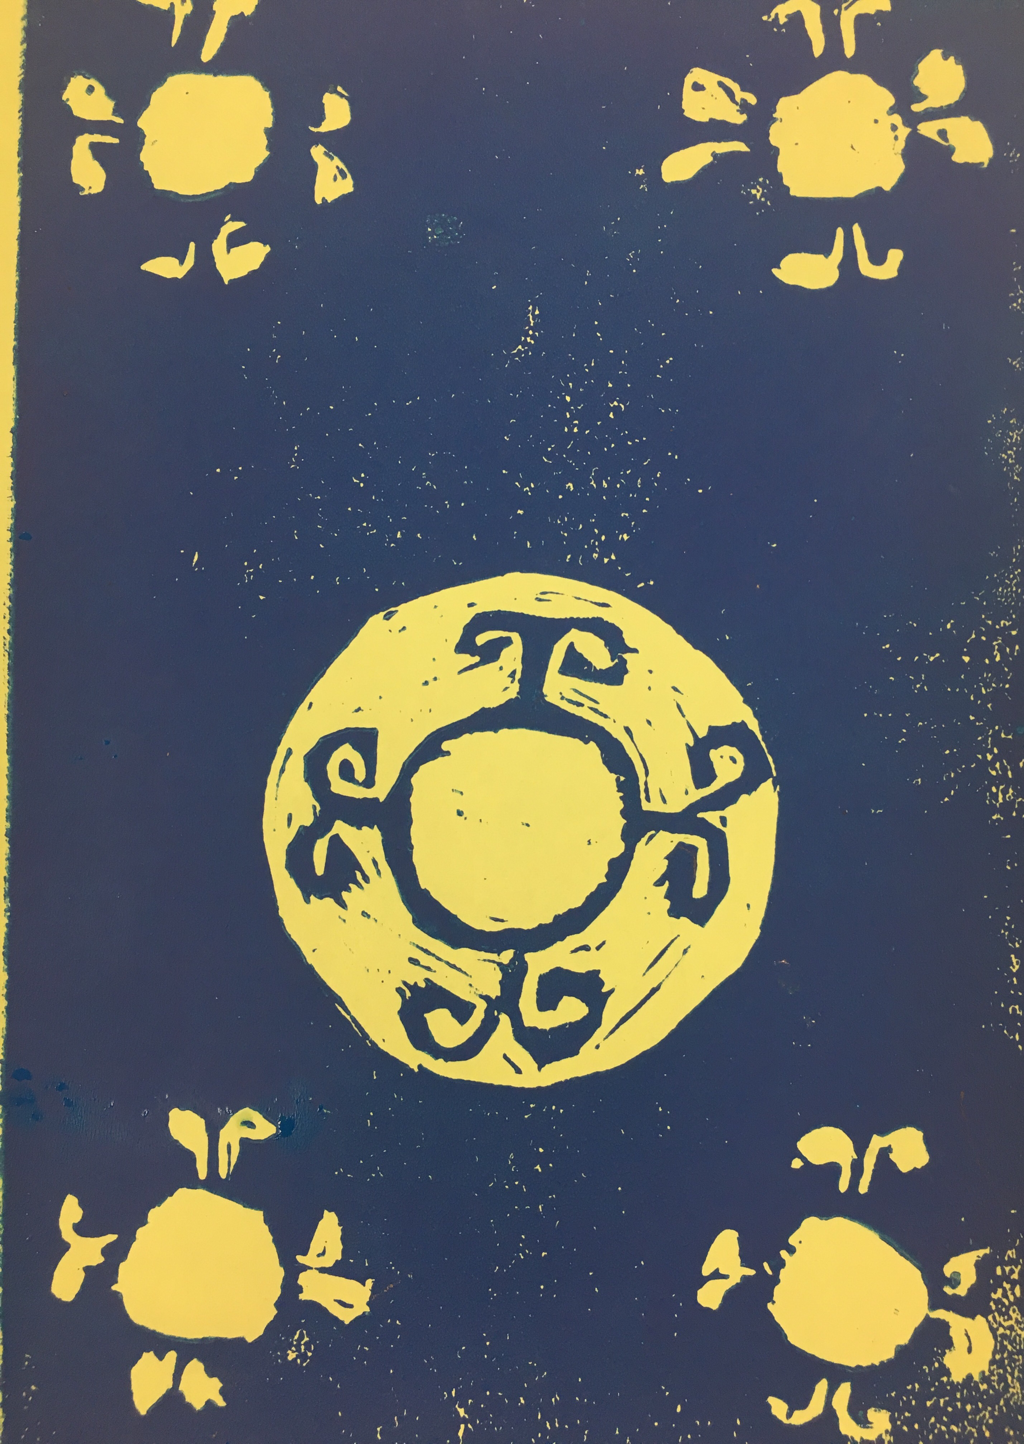
1. The theme of my linocut painting are swirls . I tried making the swirls the same size but it was hard with the tool
we used to cut out the rubber. Also was hard trying to make the swirls with the tool we used to make the certain designs.
2. My piece was pretty successful I liked how the final product was just I need to fix the amount of rubber I took off & the
try make the design of all the swirls all the same.
​
0 Comments

Finished Blog Post

5/1/2017

0 Comments

 
Picture
Picture
Picture

​Questions

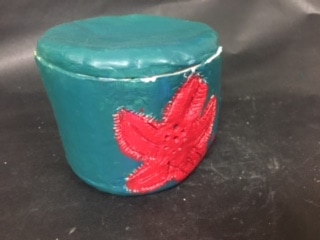
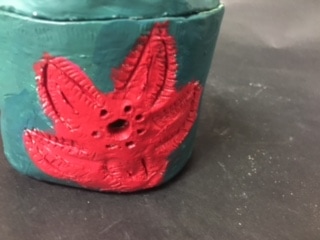
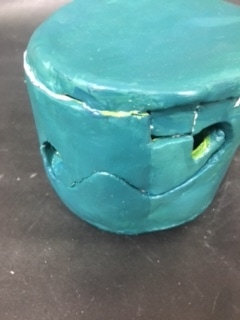
​1. I decided to use acrylic paint and to make a teal color for the entire piece. I used white, green and blue paint. For the flowers I made a coral color using orange and with white.  For the the details of the flowers a paint cap.  For the holes of the flowers I used drilling screws. For the lines I used the screws for the back for the swirls.
2. The success of the pieces was making the flowers with the paint cap because I saw this technique on the internet and wanted to tire it out. 
3. I thing I would change is the size of the flowers it didn't end up being the same size. Also I should have made the sides better blending and  make the bottom smoother.   
0 Comments

In-Process Clay Box

3/30/2017

0 Comments

 
Picture

Questions

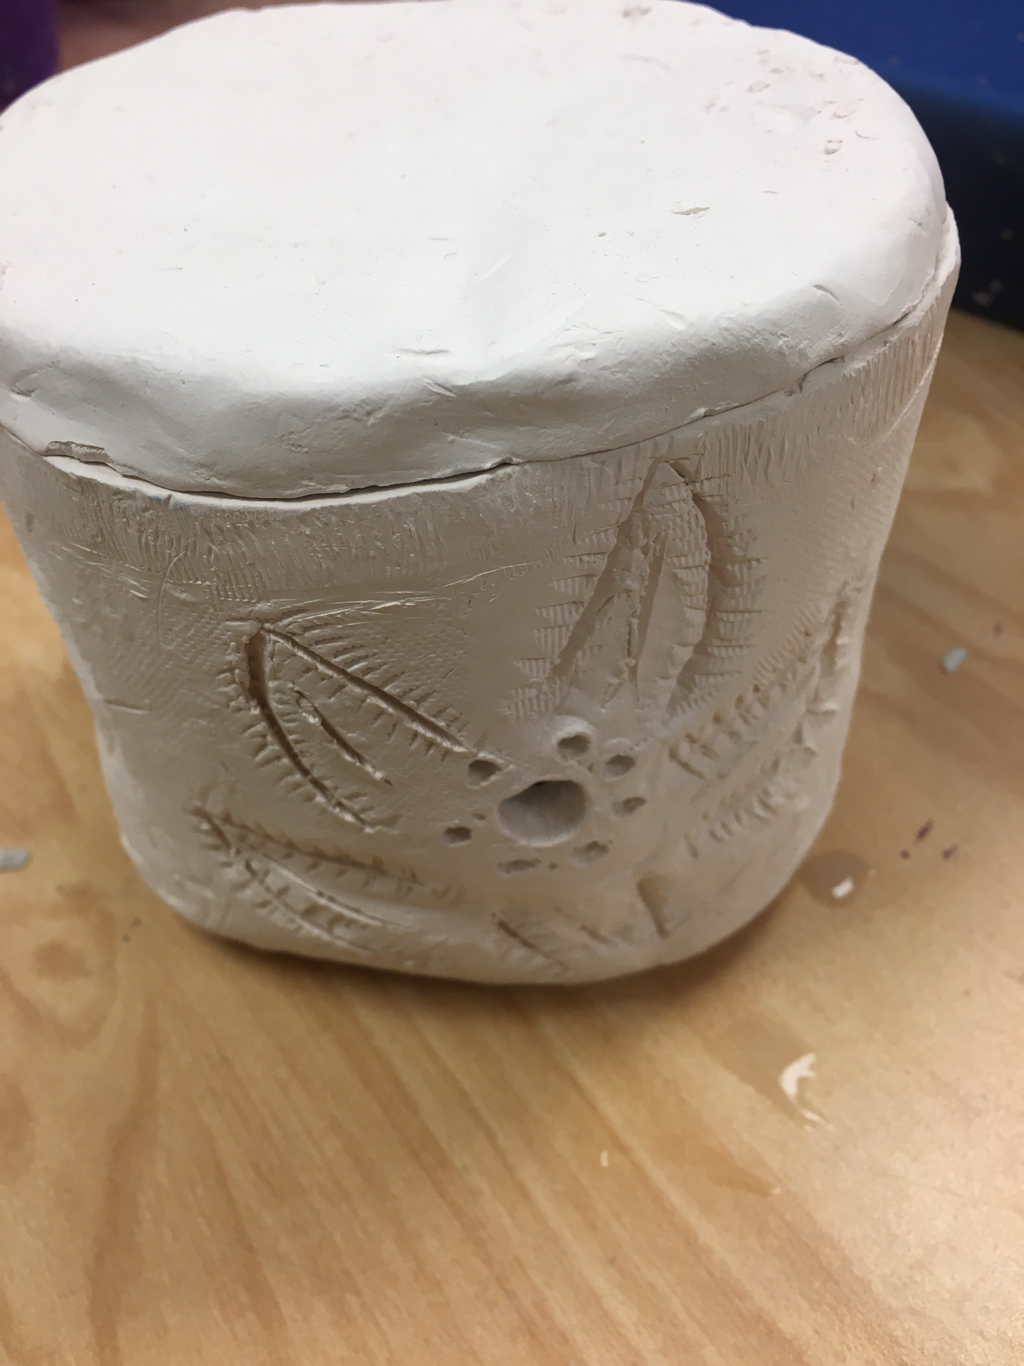
1. The thing I plan to do with my piece is use it for a candle holder. I'm going to paint my piece a teal color & also a black on the outline. I will paint the flowers pink.
2. The things were difficult so far were making the flowers with the design using a water color paint cap. It was difficult for the design to show.
3. The thing I found success so far is doing my vine on the back of my sculpture.
4. When I first starting making my piece I used a slab to body of piece. Then I used another piece of slap for the base but to attach it to the body I had to slip with the tool so it could stay together. After to do the lid of the clay box I use a slap & put in on the top of the body of piece.

0 Comments

InsPired Artist

3/21/2017

0 Comments


Two Pictures of ArTist work


paragrpah

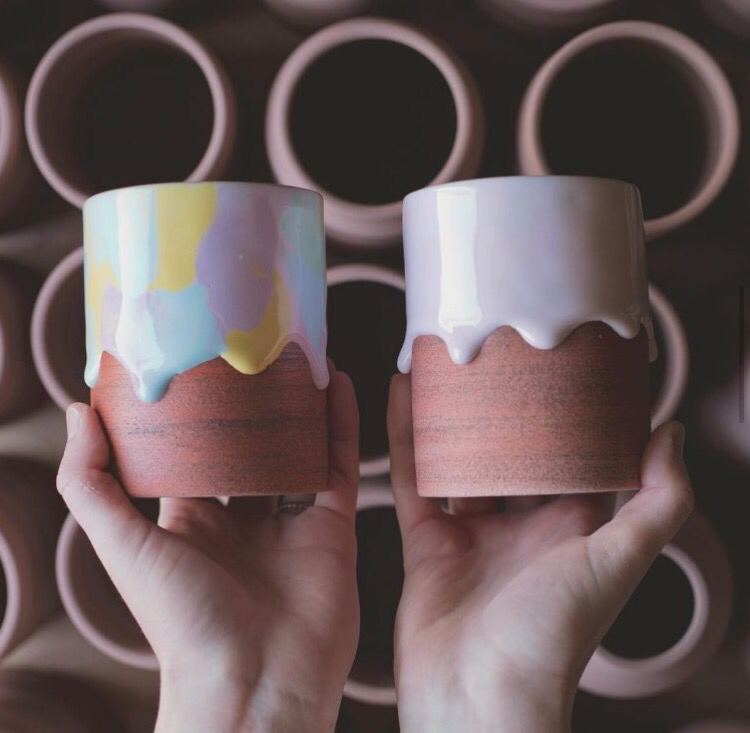
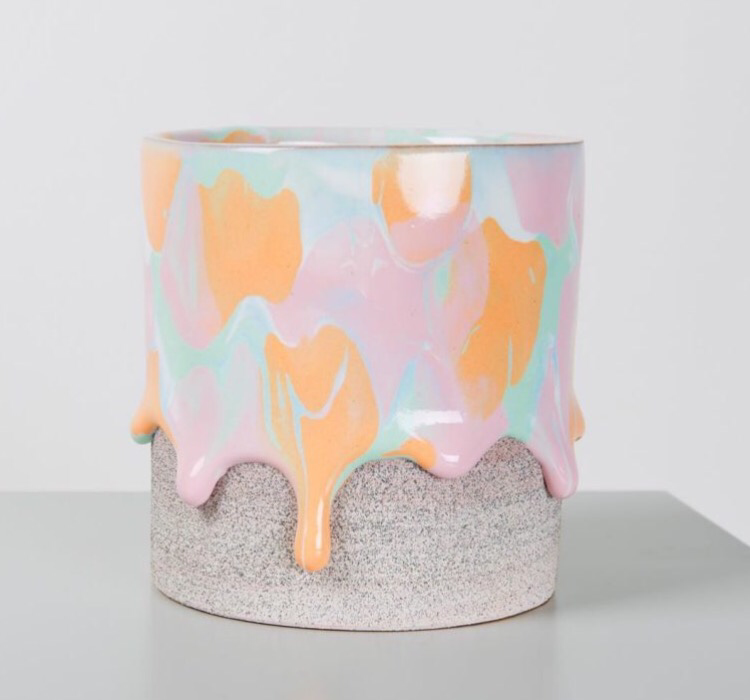
The artist I choose name is Brian Giniewski. The artist makes very nice quality vases/bowls with a colorful oozing thick liquid. When I saw the piece on the right (picture) it caught of my attention. He used the variety of colors and it just blended together. Also the Philadelphia ceramicist does the texture of mate finished but the gloss on the liquid makes it stand out.
​ The thing that inspired me in his work it just is amazing pieces I would buy one of vase but they are little expensive. I like how he is selling his unique pieces to his fans & public.I just like the way the oozing looks with the mate finished bowl. Also I just wonder how long it take him to make just one piece.
​

links
​

http://www.brianginiewski.com/
http://www.brianginiewski.com/shop
https://www.kickstarter.com/projects/brianginiewski/brian-giniewski-ceramics-made-in-philadelphia?ref=user_menu​​
0 Comments

Two and one ProJect

3/16/2017

0 Comments


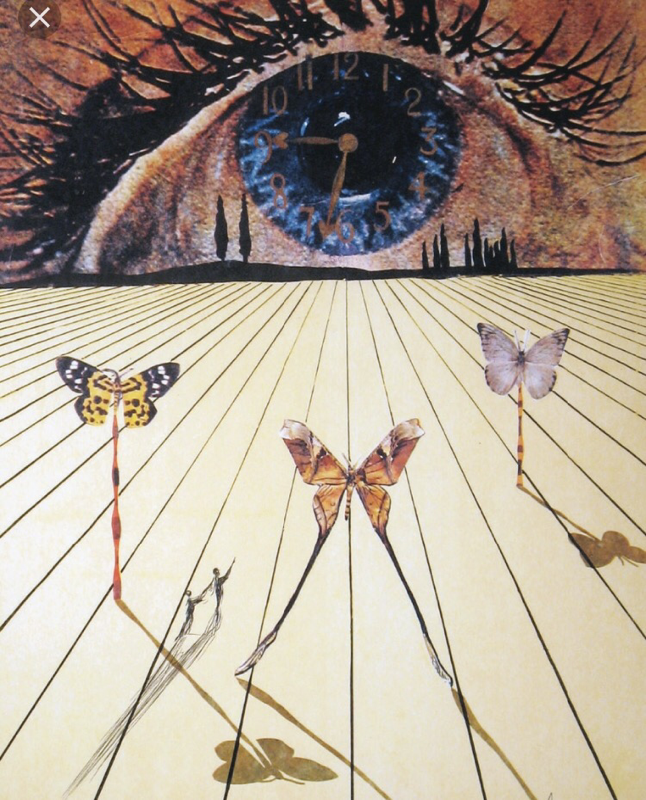
20 Inspired Pictures


in ProCess PIcture

Picture

finIshed PICTURE

Picture

Questions

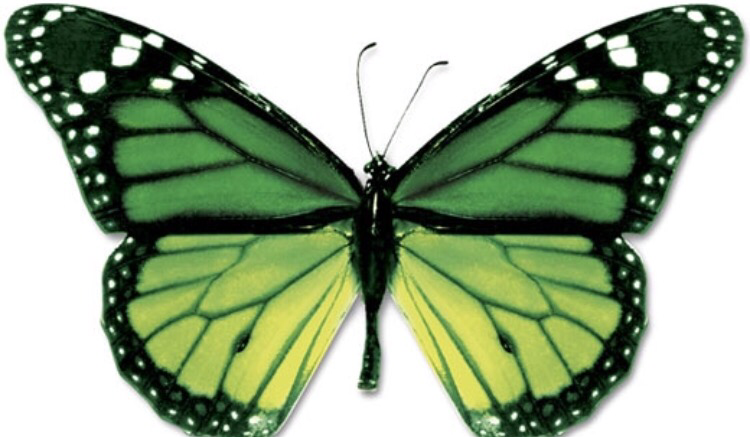
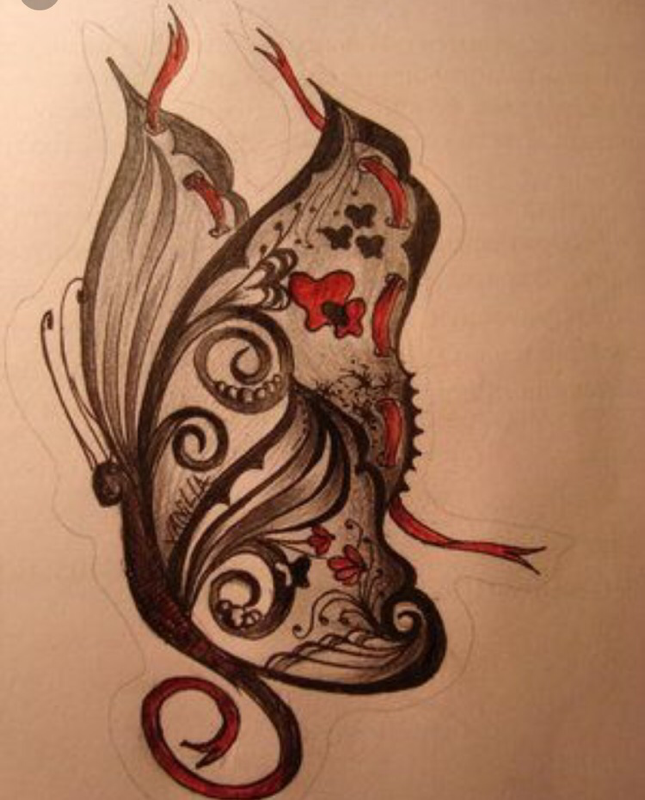
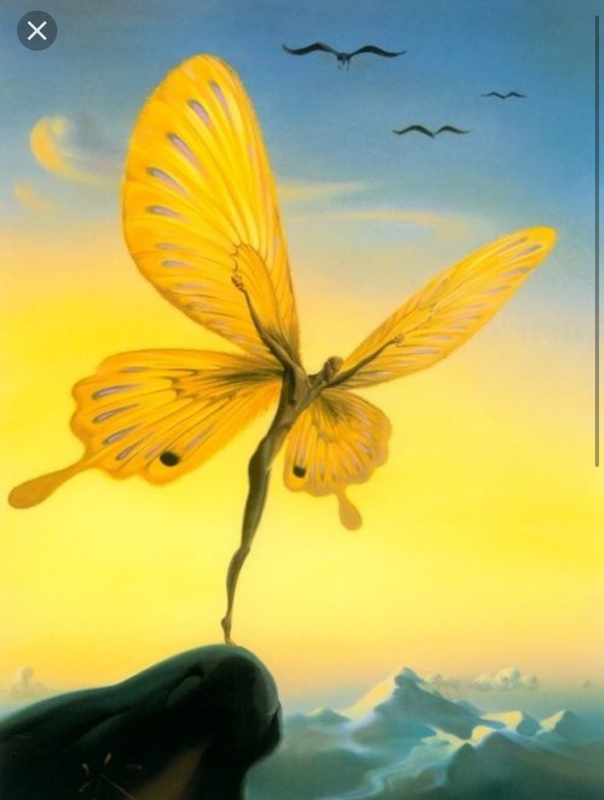
1. The medium I choose for my painting is watercolor of the background. I also did color pencil for the butterfly. The watercolor made the background more texture and the blending of colors.
2. In the project I put the butterfly with a hook as the body of it.
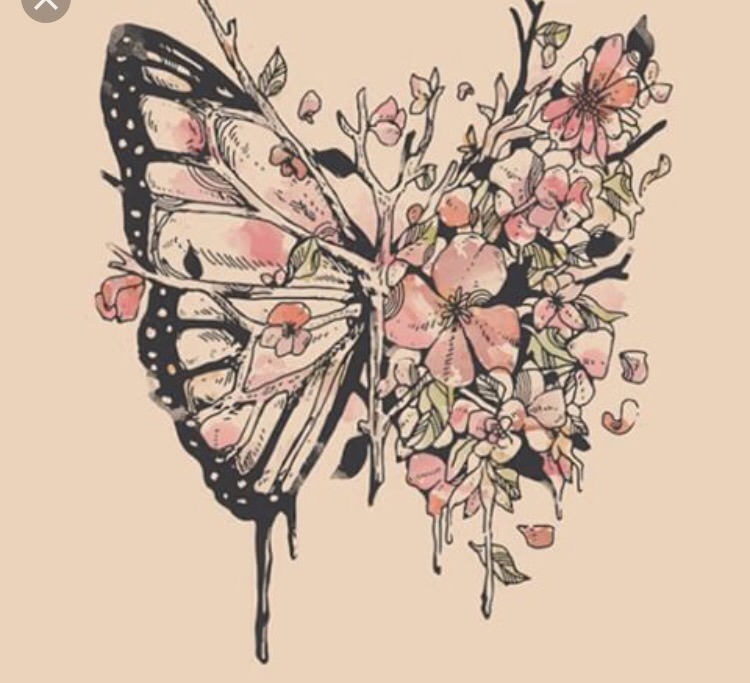
​3. I first brainstorm what I wanted to do and I saw a picture of a butterfly with a cool body shape. Then I thought I should put the body as a hook. I drew a stretch first as you can see on the inprocesspicture. Then I color the butterfly with light purple color pencil & made the design with dark color pencil. For the background I did watercolor. I used the colors of green, blue & darkest shade of blue. I just mix the shades together & with my brush I did up motions.
0 Comments

Water Color LanDscape

3/16/2017

0 Comments

 
Picture
0 Comments
<<Previous

    Author

    Write something about yourself. No need to be fancy, just an overview.

    Archives

    May 2017
    March 2017
    February 2017

    Categories

    All

    RSS Feed

  • Home
  • Art 1
Powered by Create your own unique website with customizable templates.